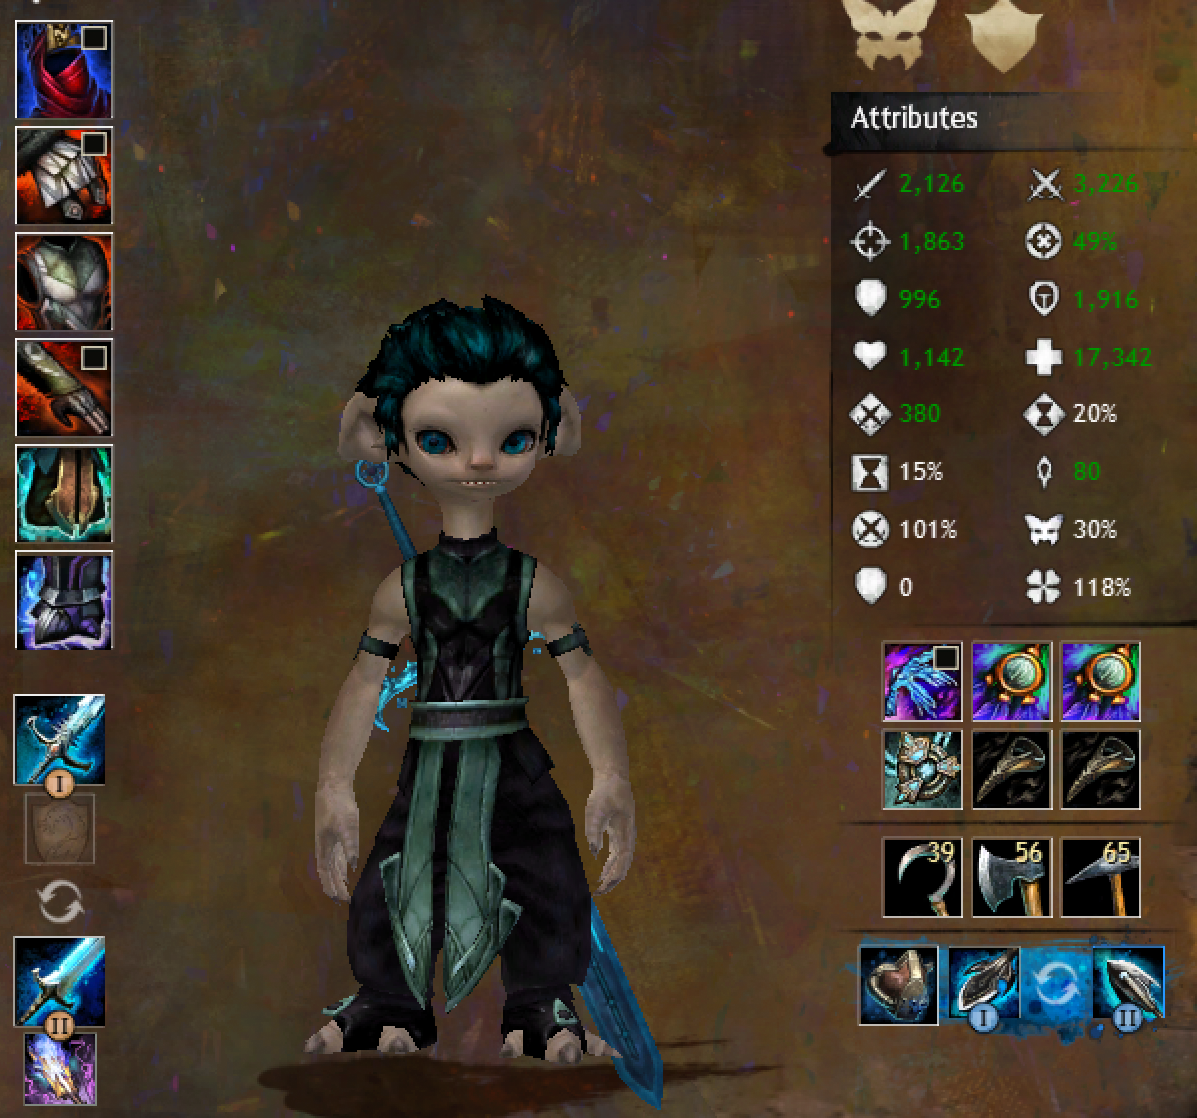
(Needs attention so posts as well – Also is the kittank of this group of awesome people)
For tanks: Your first few attemts will most likely hurt. A lot. Your healer will most likely also hate you for dropping like a fly.
Once you get used to the timing of the bosses attacks you will see progress.
Noting a few things that helped me. Your personal experience may vary.
== BUILD ==
For my build, little improvements made my job an aweful lot easier.
The build I used
(was using Scholar rune at the time.. but Chronorune is just freakin awesome.)
Persistence of Memory is a beast. Shatter your clones after blocking (mostly while in “blurred frenzy” and you basicaly have around 80% block/evadeframes.
Remember: With my build you need to shatter with 2 skills so your illusions are killed and give you the recharge!
Signet of Ether Helps to keep your health up, because you will basically have permanent uptime of 3 illusions (sometimes maybe a clone) and the passive effect refreshes all illusion-summoning-skills. And – guess what – your block is such an illusion-summoning-skill. Even more block uptime.
Mental Defense is the reason why you will have 3 illusions at all times. It’s awesome and eats damage you (or your DD’s) would take.
== ENCOUNTER ==
Phase 1
Face that thing away from your group. seriously.
If Vale guardian is not a gigantic kitten you can time your block to always hit his attacks with a roation like:
Echo of Memory -> Deja Vu -> Blurred Frenzy -> mind wrack + cry of frustration
(Evade blue cirlces (teleports) as needed with dodges, distortion or well of precog)
Distortion and Well of Precognition (sometimes mimic’ed) can be incorporated into the rotation but I decided to leave those off cooldown to safe some butts. Remember: Distortion will be spread around you in a radius of 300, however your go-to butt-saving skill will be Precognition.
Situations like that would be: Teleportion fields or seekers inside of green circles or generally near the DD’s positions. (2 seekers can wipe your friends really really easily when there are no knockbacks available at the time)
Phase 2 – Split
No question: blue. Your Auto Attack strips boons. Enough said.
Build up illusions/clones (3) but else focus on Auto Attacking. You want to get that invulerability off the Miniboss as fast as possible.
Break with Diversion if needed, move on to the Green boss
Phase 3 – Circling
Start in the red third near the border to the green.
Shout at people for standing in front of the boss and getting their butts cleaved.
Move as soon as the lit up area changes (keeping the boss as steady as possible maximes DPS!) In this phase people can stay behind to go into the green if necessary, you don’t need to go into the next third however it cuts walking time to spawn the green thingy in the right circle which can also provide a boost in DPS
Phase 4 – Split again
see Phase 2
Phase 5
Circling again, now 2 lit up zones
Start at the red third near the border to the green third again.
Move early! count to around 16 or 17, then move.
Remember: your illusions will stick to the boss! Run ahead when he is in the breakbar phase and position near the next border. Break with Distortion.
Phase 6
Take a screenshot in front of the chest and get your bad loot.
== Counting ==
It helped that different people counted different things as well:
Lightning Circles (green): Spawn every 15 seconds and got a 6 second telegraph.
Blue Circles: Spawn every 10 seconds and got a 2 second telegraph
Lit up Areas: Change every 20 seconds (move in at around 16-17s)
Breakbar Phase: every 30 seconds (should be broken in 2-3 for smooth boss-movement)
== Most valuable hint I can give: ==
Have fun. Can’t stress that enough.
If you don’t think it’s fun you will be bad and not beat it.
Joke around between fights and get a good feeling inside your group. Drink a lot of water to keep concentration up, let some air in and have a good time with people ^-^
kill kittens, resurrect kittens, repeat
Also: #blamejosh
Mookanik-Breakdown: for copy-pasting
Enrage: 8 minutes
Phase 1 (100% health)
RED field: Seeker Orbs: 20s interval, near each pilon, moving towards players (CC-able)(chase for 15s)
GREEN field: Lightning Circles: 15s interval, 6 second telegraph, 4! players (downed don’t count)
BLUE field: Teleport Circles 10s interval, 2 second telegraph, displace randomly
Phase 2 (66% health)
RED: Condition players
GREEN: physical DPS
BLUE: 4+ physical DPS (need boonstrip)
Phase 3 (66% health)
Same as Phase 1
+ Danger Zones (20s interval)(starting G → B → R)
+ Breakbar Phases (30s interval)(~3s breaktime)
Phase 4 (33% health)
= Phase 2
Phase 5 (33% health)
Same as Phase 3
+ Danger Zones (20s interval)(starting G+B → B+R → R+G )
IF Lightning Circle in Danger Zone => Group up => Protection => Heal
IF Boss in Danger Zone => don’t break. ranged dps.
(edited by Moeh.7035)


